Settings
The Settings page has three cards: AI Provider API Keys, Scan Defaults, and AI Verification Prompts.
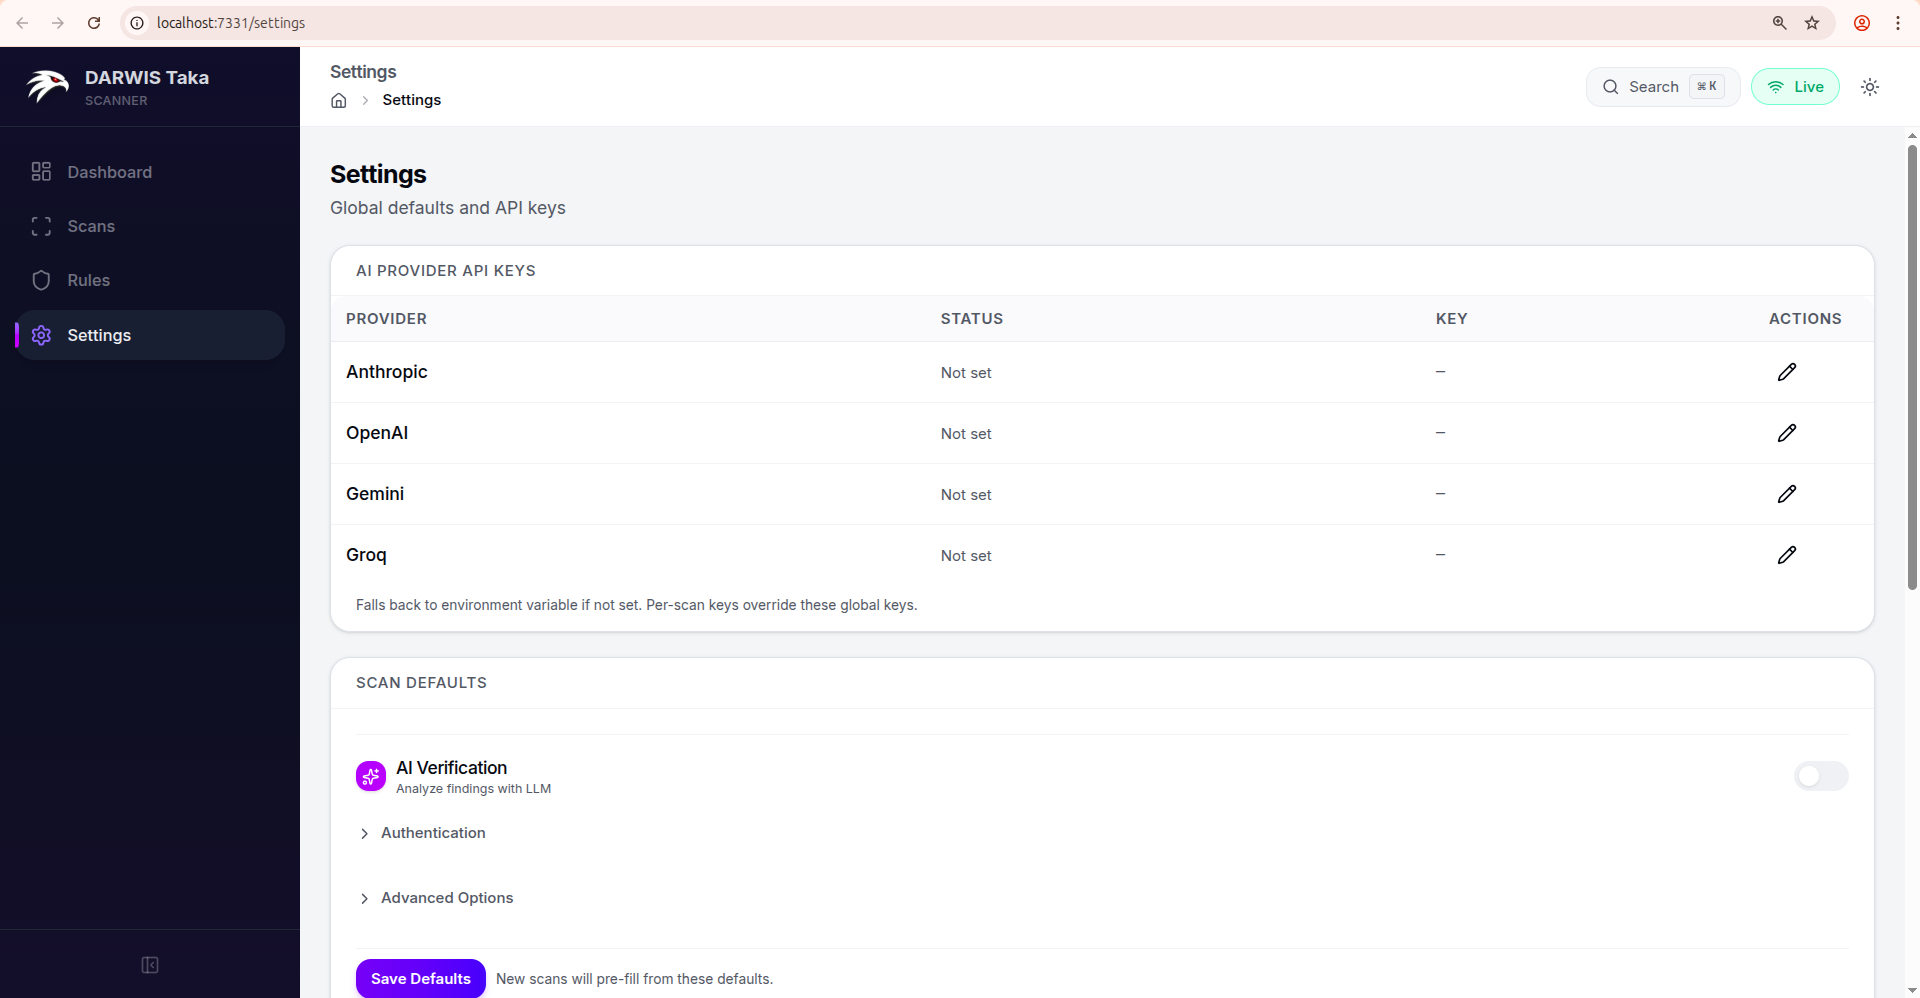
AI Provider API Keys
One row per supported provider:
| Column | Meaning |
|---|---|
| Provider | Anthropic, OpenAI, Gemini, Groq. |
| Status | Configured (green check) or Not set. |
| Key | A masked preview of the saved key, or a dash. |
| Actions | Pencil (edit) and, if a key is saved, a trash icon to remove it. |
Keys are written to taka.db on the /data volume. Rotate a key by editing the row and pasting a new value; no container restart is needed.
Note
The Web UI’s scan form and AI verification drawer currently let you pick between Anthropic and OpenAI when starting a scan. Keys for Gemini and Groq can be saved here for when they’re selectable in future releases.
Important
Key precedence at scan time:
- Per-scan key entered on the New Scan form.
- Global key configured here.
- Environment variable (
ANTHROPIC_API_KEY,OPENAI_API_KEY, …).The first non-empty value wins.
Scan Defaults
Scan Defaults pre-fills the New Scan form on every future scan. It uses the same form as Running a Scan; any field you can set per-scan can be pinned as a default here. The per-scan API Key field is hidden in the defaults form (keys always come from the table above or from the environment).
Click Save Defaults at the bottom to persist. The defaults apply only to new scans; existing scan records are untouched.
Example workflows
Always verify with Anthropic. Toggle AI Verification on, select Anthropic, save defaults. The New Scan form now opens with AI already enabled.
Internal-only scanner. Expand Authentication and add a default header such as X-Internal-Scanner: taka so every scan identifies itself to your WAF.
Ultra-safe scanning. Flip Passive scan only on; new scans start in passive mode and skip rules that send attack payloads.
AI Verification Prompts
The third card lets you override the system and user prompts Taka sends to the LLM during verification. The mode toggle at the top switches between Active Verification and Evidence Analysis; each mode has its own pair of prompts.
| Field | Notes |
|---|---|
| Custom System Prompt | Leave blank to use Taka’s built-in system prompt. |
| Custom User Prompt | Leave blank so finding details are auto-assembled by Taka. |
| Save mode | Persists the override as the new default for that mode. |
| Clear | Removes your saved override (reverts to the built-in prompt). |
When you open the AI Verification drawer on a finding, these saved overrides are pre-filled as the Use custom prompts values. You can still edit them inline per-run.
Resetting defaults
Clear a field and click Save Defaults to remove it from scan defaults. To wipe all defaults, keys, and scan history, recreate the data volume. See Data Persistence.